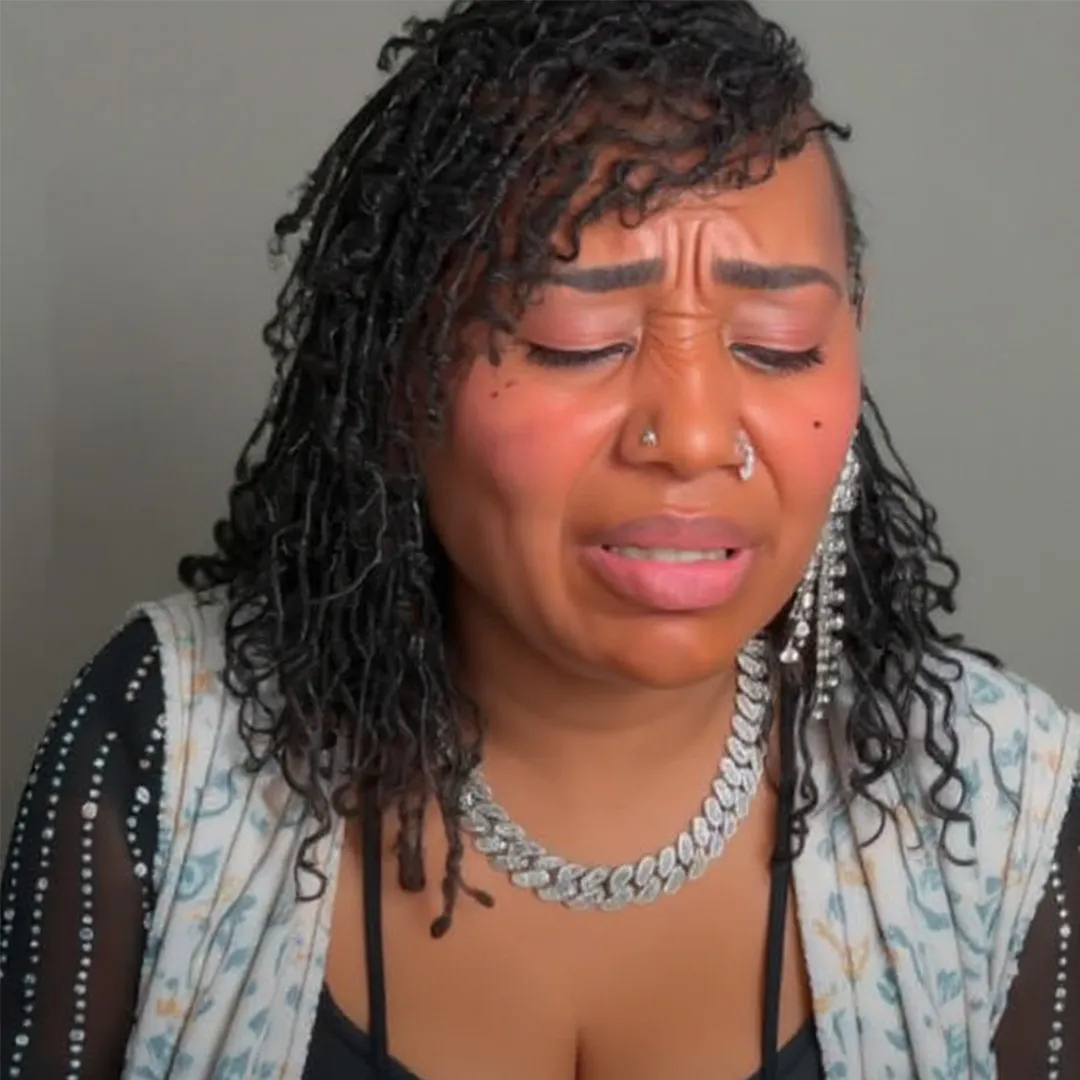
Get Ready With Me - My Daily Makeup Routine

Hey my belovies! 💋 Today I’m finally doing the “Get Ready With Me” video that y’all have been asking for! I know I look super different without my glam — no lashes, nothing — but don’t worry, you’re about to see the full transformation!
⚠️ IMPORTANT WARNING ⚠️
Before we start, let me just say this: the way I do my makeup is totally different from what you see other people do. I don’t follow every step, I just do what works for me. I’m not teaching a tutorial — I’m just sharing my way because I love y’all! ❤️
( If you enjoyed this post and want to try the ingredients and tools that helped shape the Bloveslife brand, feel free to check them out below! Every view or purchase you make is a way of supporting Blove’s passion and dedication to the community.
- 7.5 Quart Cast Iron Dutch Oven: https://amzn.to/4dcUqms
- Lodge Pre-seasoned Cast Iron Skillet: https://amzn.to/3TyyMSA
- Bamboo Seasonings Box with Mini Spoon: https://amzn.to/4dfHzA6 )
Step 1: Moisturizing – Baby Oil Is Everything!
Yes, you heard me right — I use baby oil instead of primer!
I have dry skin, so baby oil works perfectly for me. I know some people will say, “She should use primer!” but nope, this is what I do and it works. I just use a little, not too much.
Step 2: Eyebrows – They’re “Sisters,” Not “Twins”
Next, I grab my Dark Brown Brow Pomade and a small brush to shape my brows.
This step takes a while ’cause I want them just right. I see people with these perfectly sculpted brows and I’m like, “Dang, that’s nice!” I do the best I can with what I got. I’ve only been doing makeup for about a year and a half — before that I was just an eyeliner and lipstick kind of girl!
And y’all, I just started wearing colored wigs too! My sister Shannon (hey girl!) got me hooked about a year and a half ago when she gave me a blonde one. Ever since then, I can’t stop switching up the colors.
But remember: my brows are sisters, not twins. That’s just how it is in this household! 😄
Step 3: Concealing Around the Brows
After that, I use my MAC Pro Longwear Concealer. I put a little on the back of my hand and outline my brows. I should have my glasses on, y’all, but it is what it is!
Then I blend it out — sometimes with a brush, sometimes with my fingers. I don’t use all the fancy tools everyone else does.
Step 4: Don’t Waste the Product!
That leftover concealer on my hand? Oh, I use that! I don’t waste good makeup. Instead of color corrector, I just apply the rest all over my face.
MAC is expensive, y’all! My husband knows it too! 😂 When I go to the MAC counter and spend $130 for three things, he’s like, “What in the world did you buy?”
But I use every drop, and you know what? I always get compliments when I go out. People think I had my makeup professionally done — nope, it’s just me!
Step 5: Foundation – My Special Mix
Now for foundation. I mix MAC Studio Fix Tinted Cream with Revlon ColorStay 24HR.
I mix them on the back of my hand, not too thick, and apply with a brush. I have those sponges, but honestly, I’ve never used them. I know people say, “Don’t paint it on!” but I do! It smooths out perfectly for me.
And again — I use all the product. Nothing goes to waste around here!
Step 6: Lashes – I Have None! 😅
My natural lashes are super short — like, basically not there. So I don’t even bother. Before putting on falsies, I go ahead and do my eyeshadow.
Step 7: Eyeshadow – Orange Today! 🍊
Normally I go for silver or gold, but today I’m doing orange just to switch it up!
I’m using MAC Orange “Brightest Response.” The pigment is amazing! I make sure it hugs my lid nicely.
One day, I’ll try those big colorful palettes like Jaclyn Hill’s — all those gorgeous blues, purples, and reds! But for now, I’m keeping it simple.
Step 8: Eyeliner
I use gel eyeliner and sometimes Revlon ColorStay Black Eyeliner… but the tip just broke off! 😭 So now I’m switching to Maybelline — “Maybe she’s born with it!”
I line my eyes — not perfect, but it’ll get fixed once the lashes go on. Remember, my eyes are “sisters,” not “twins,” too!
![]() Step 9: False Lashes – The Struggle!
Step 9: False Lashes – The Struggle!
Usually I wear Lily Lashes (mink), but I didn’t have them today, so I’m using another pair.
And guess what I use to glue them on? Hair glue! Don’t judge me, a lot of people do it! 😅
I put a thin line, let it dry a bit, and then use tweezers to apply. Thankfully, they’re behaving today — sometimes it’s a fight!
Step 10: Finishing the Eyeliner
Once the lashes are on, I go back over my eyeliner to make it pop more. I also fill in my brows just a touch darker.
Step 11: Waterline
I use Lash Factory Eyeliner Pencil from Makeup Snob to line my lower lash line and bring that drama!
Step 12: Blush & Highlighter
Now for blush — MAC Blush, then MAC Gold Deposit Highlighter.
I apply it on my cheekbones, nose bridge, Cupid’s bow, chin, and forehead. I might not do it “the right way,” but it’s my way!
Step 13: Covering My Mole
I have a mole that gets super dark after makeup, so I dab a little concealer over it.
And voilà — this is my face! 💁🏽♀️
Step 14: Wig Time!
Now I put on my wig since my natural hair is tied up.
Comes back on camera
Okay y’all, here’s the wig I’m wearing today!
Step 15: Lipstick – The Final Touch 💄
My husband said I can’t forget the lips! I’m using MAC Lady Danger, a burnt orange-red shade.
Normally I use lip liner, but I didn’t bring it today. Still, this color pops!
And that’s it — the final look! My brows may not be perfect, but…
! This is what y’all see on camera when you say, “She looks different!” Now you know what’s behind the glam!
Final Thoughts
I hope y’all enjoyed this video! Don’t judge me — this is how I do my makeup and you asked to see it from start to finish.
Thank you so much for watching, belovies! I’ll have another video tomorrow — maybe another GRWM or a wig try-on, who knows!
See y’all later — Peace! ✌️
Related articles
The Latest
The Surgery That Changed My Life
My Menopause Journey: A Real, Honest Talk From BLovesLife Hey my loves! Today, while I’m sitting here enjoying this amazing seafood, I wanted to pause for a moment and t...
Don’t ever do that again
When My Mom Heard Me Sing Hey y’all! So today, while I was sitting here enjoying this amazing crab, I suddenly remembered a hilarious and unforgettable moment with my mo...
Y’all, don’t think doing YouTube is simple
About My Job as a YouTuber Hey y’all, I want to talk to you about this YouTuber life. A lot of people think it’s easy, but trust me—it’s not. First of all, my husband a...
About People Saying I’m “Bragging”
Hey y’all, let me clear something up real quick. I’ve seen some comments saying that I’m bragging—but honestly, that’s not my intention at all. I’m just sharing my life,...
Dorothy Lane Market
Dorothy Lane Market Grand Opening – An Unforgettable Experience! Hey y’all! Today I had the chance to visit Dorothy Lane Market on its grand opening day, and let me tell...


 Step 9: False Lashes – The Struggle!


 The reason why Darius wants me to go to a nursing home in the future
 A Thanksgiving Lesson Etched in Skin
 Uncovering the Truth Few Dare to Speak in the Community
 Darius Talks Marriage, Having Kids and More


